 Several months back we added an intuitive solution to custom coding individual Dynamik Skins and in this tutorial I want showcase this feature and explain how it works and what makes it unique from the other custom coding Dynamik options.
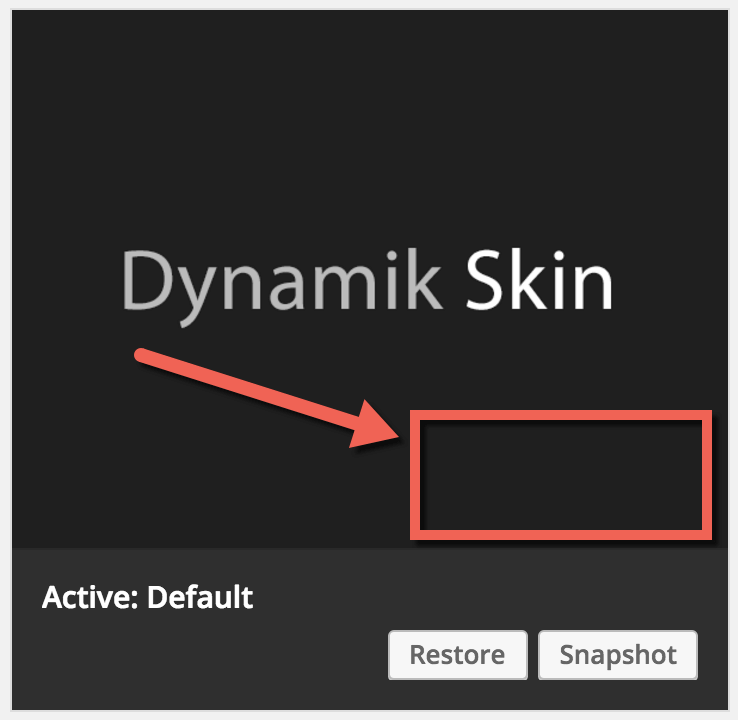
First, let me note the fact that by default you will not see the custom coding buttons in your Dynamik Design > Skins section as they are not present in the “Default Skin”.
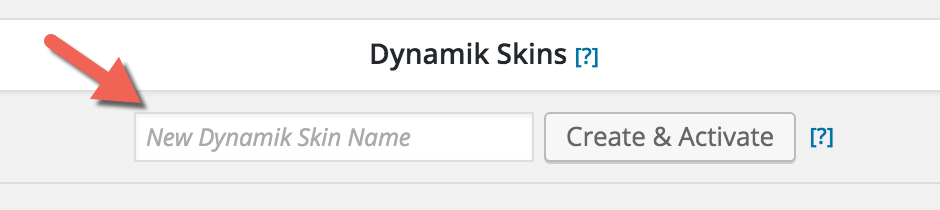
So to enable this feature you either have to import a new Dynamik Skin or create a “clone” of your current one using the “Create & Activate” feature located at the top of your Dynamik Design > Skins admin area.
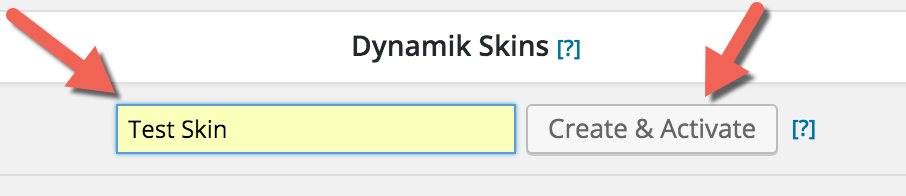
Note that by inputting a new name in this field and then clicking the “Create & Activate” button you will simply create an exact copy of your current Skin, activate it, and as I said it will include the custom coding files we’re about to talk about.
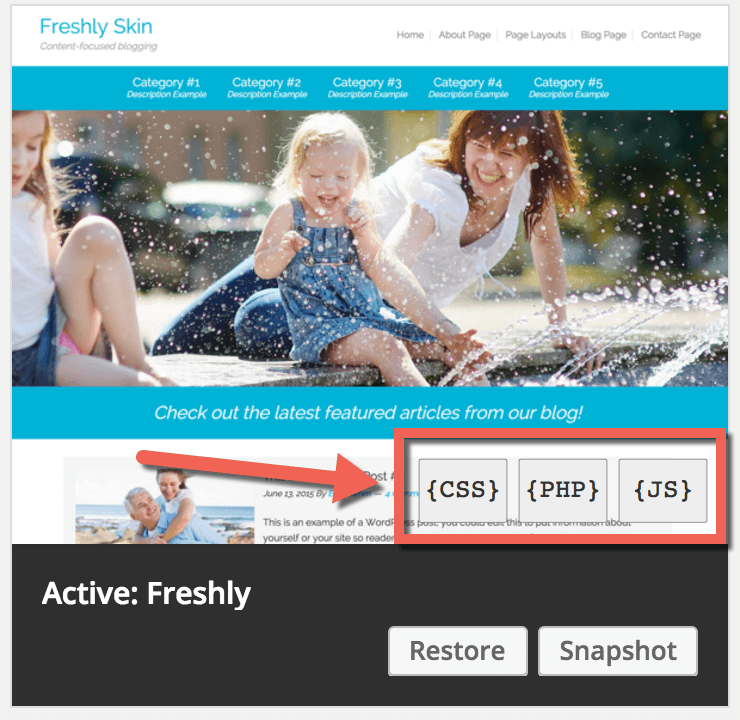
Once you’ve either imported a Skin or created a clone of your current one you should now see the {CSS} {PHP} {JS} buttons located at the bottom-right corner of your currently active Dynamik Skin screenshot in Dynamik Design > Skins.
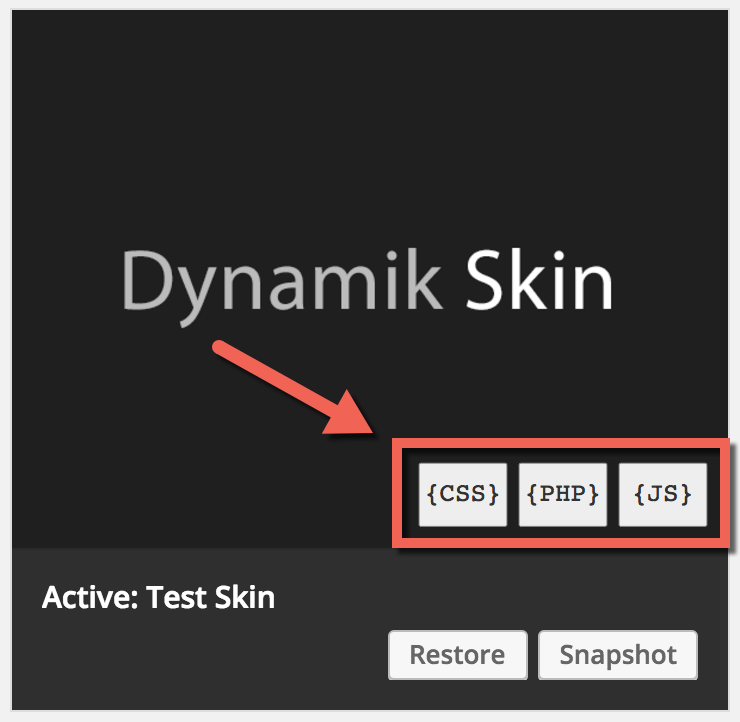
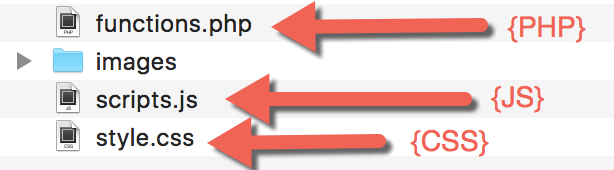
What these buttons represent is a set of corresponding, hard-coded, custom coding files located in your currently active Skin’s folder found in /wp-content/uploads/dynamik-gen/skins/test_skin/ (or whatever your active Skin name is). These files are named style.css for {CSS}, functions.php for {PHP}, and scripts.js for {JS}.
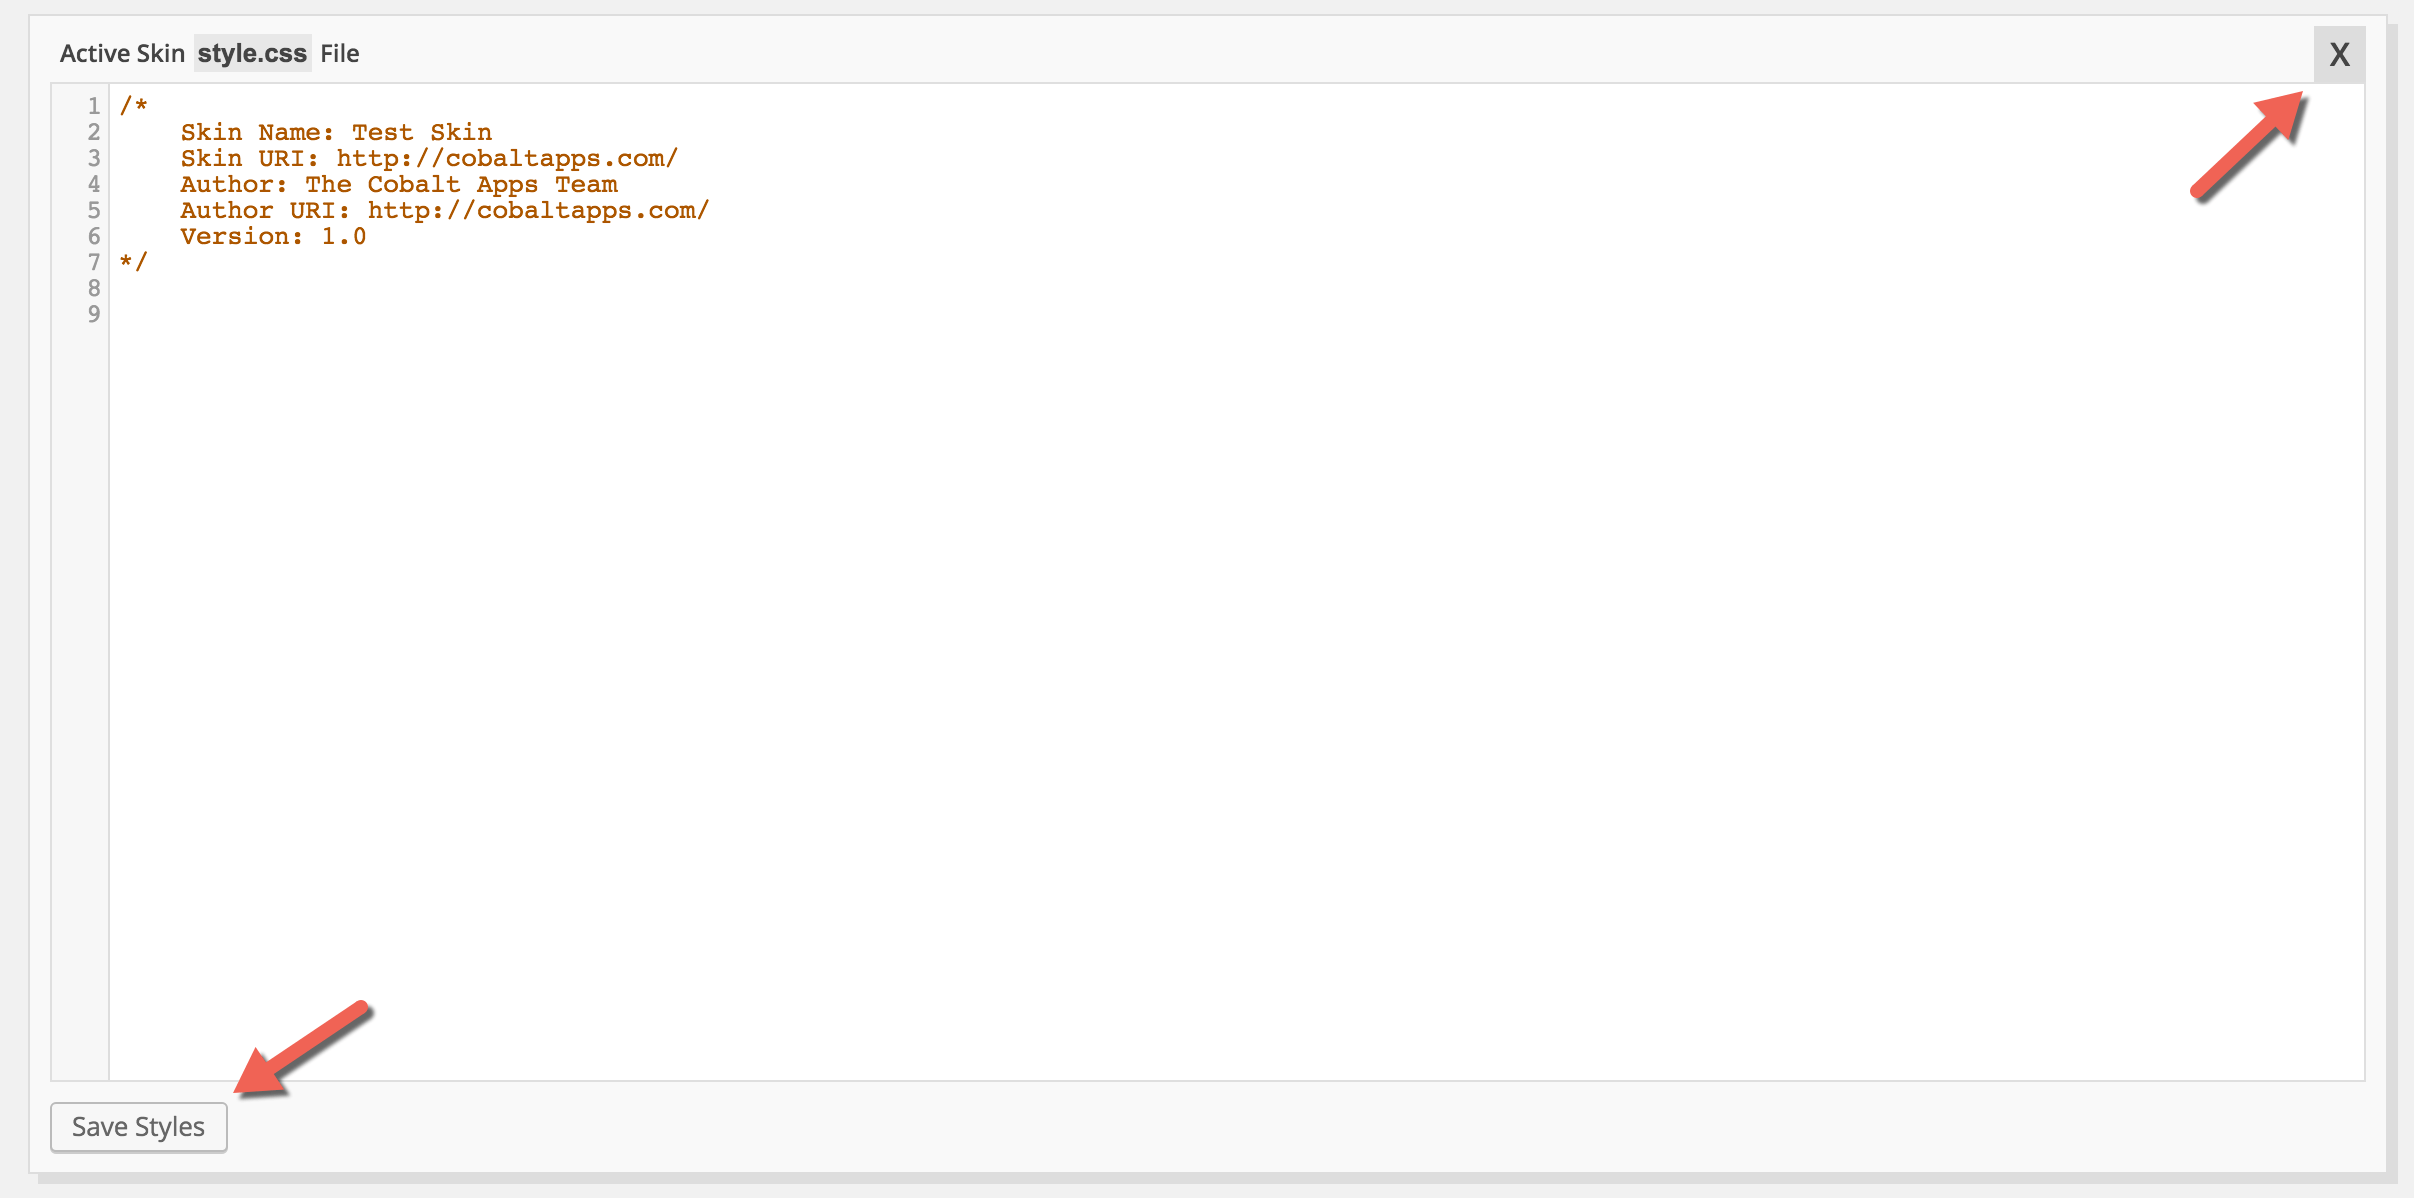
Then, to edit these files you can do one of two things (or both as long as it’s not at the exact same time). For keeping it all in the Dashboard we made it so you can quickly and easily access and edit these files using those custom coding Skin buttons mentioned above. Just click the button that corresponds to the type of code you want to add or edit and Dynamik will bring up a textarea window with line numbering and syntax highlighting, ready for your input. Then simply click save to write your changes to the file or X out of it to close out the editor.
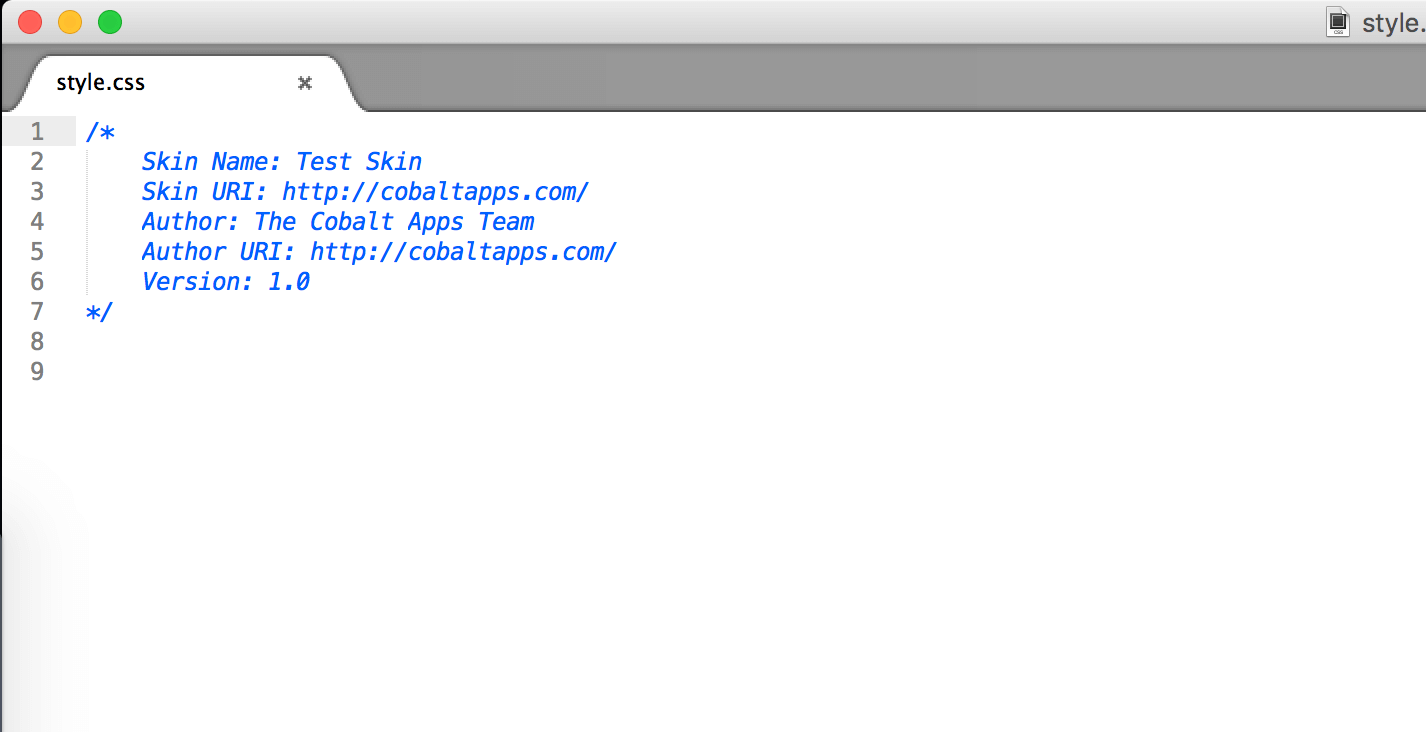
Or, for those times when you want to edit your Skin’s custom files in your favorite code editor you can do so (using FTP or your computer’s file editor if you’re on a localhost setup) by opening the files which are located in /wp-content/uploads/dynamik-gen/skins/test_skin/ (or whatever your active Skin name is).
And the point I want to make crystal clear here, and one of the things that makes this feature so flexible, is the fact that you can edit these files in either one of the two above mentioned ways, without any conflict. For example, if you were to do this with your custom files that are created when you use the Dynamik Custom > Custom CSS/Functions/Javascript features you’d find that every time you clicked “Save Changes” in your Dynamik Custom admin area those files would be re-written, overwriting any edits you may have made with your external code editor. So for the Dynamik Custom Options we always state that you should only edit those files from your Dynamik Custom admin page. But in contrast, these Dynamik Skin custom files can be edited either way and they won’t be overwritten.
The reason this works is because instead of those files being written to upon each “Save Changes” from code saved in your server’s database, they are simply written to, as well as read from, the actual files. So there’s no database interaction. Simply reading and writing from the files.
Finally, let’s note a few other things that may otherwise be in question or cause confusion:
- The Dynamik Skin custom coding buttons are only visible if the actual corresponding files are present in the active Skin. So, for example, if you were to delete your scripts.js file from your active Skin, but leave the functions.php and style.css files in place, you would find that only the {CSS} and {PHP} buttons would be present.
- All three of these active Skin custom files will be included with a Genesis Child Theme Export. So if you decide to export your current Dynamik design into a hard-coded Genesis Child Theme using the Dynamik Child Theme Export feature you can rest assured that your Skin’s custom code will be included.
- Even if the scripts.js file is present it will not be included on the front-end of your site unless you uncomment two lines of code in your Skin’s functions.php file (this is noted in both files so I won’t get into the details, but I just wanted to point that out). This is done this way to prevent unnecessary calling to an unused javascript file on the front-end of your website.
This is just one of many great features found in Dynamik’s Skin feature, but I just wanted to go into a bit greater depth to ensure that this particularly unique custom coding solution was best understood.
Follow & Share: