
When I build websites with Dynamik I generally stick to a five to seven step workflow that nicely utilizes the tools offered by Dynamik and gets the job done quickly. This is certainly not the only way to work with Dynamik, but my hope is that the following will at least provide our members with a useful framework to follow when creating their own flow that works best with them.
My Dynamik Workflow
Step 1: Choose and Import a Dynamik Skin.

You can certainly use the “Default” Skin if you want to start with more of a clean slate design, or you can activate a Custom Skin that’s already present in your Dynamik Design > Skins section, or you can Import a Custom Skin that you’ve decided best suits your current web design project. Either way, pick your design starting point by way of a Dynamik Skin.
Step 2: “Clone” this Skin.
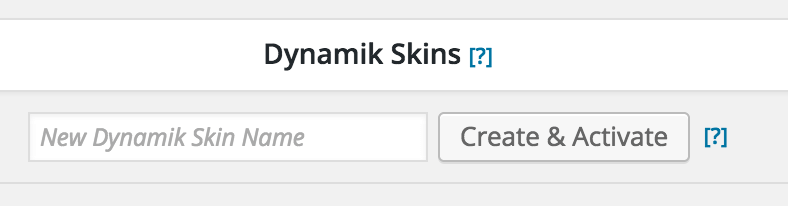
Use the “Create & Activate” button in Dynamik Design > Skins to create a new version of your active Skin, giving it a new name. This isn’t a necessity, but I find it’s nice to have all my Skins in stock form in Dynamik Design > Skins so I can simply activate the one I want to start with, and then clone it into a new Skin so the stock version stays unchanged, ready for use in a future project. Also this ensure your web design project has a uniquely named Skin to keep things nice and organized.
Step 3: Use the Universal Design Control feature to make sweeping changes to commonly styled elements like fonts, backgrounds and borders.
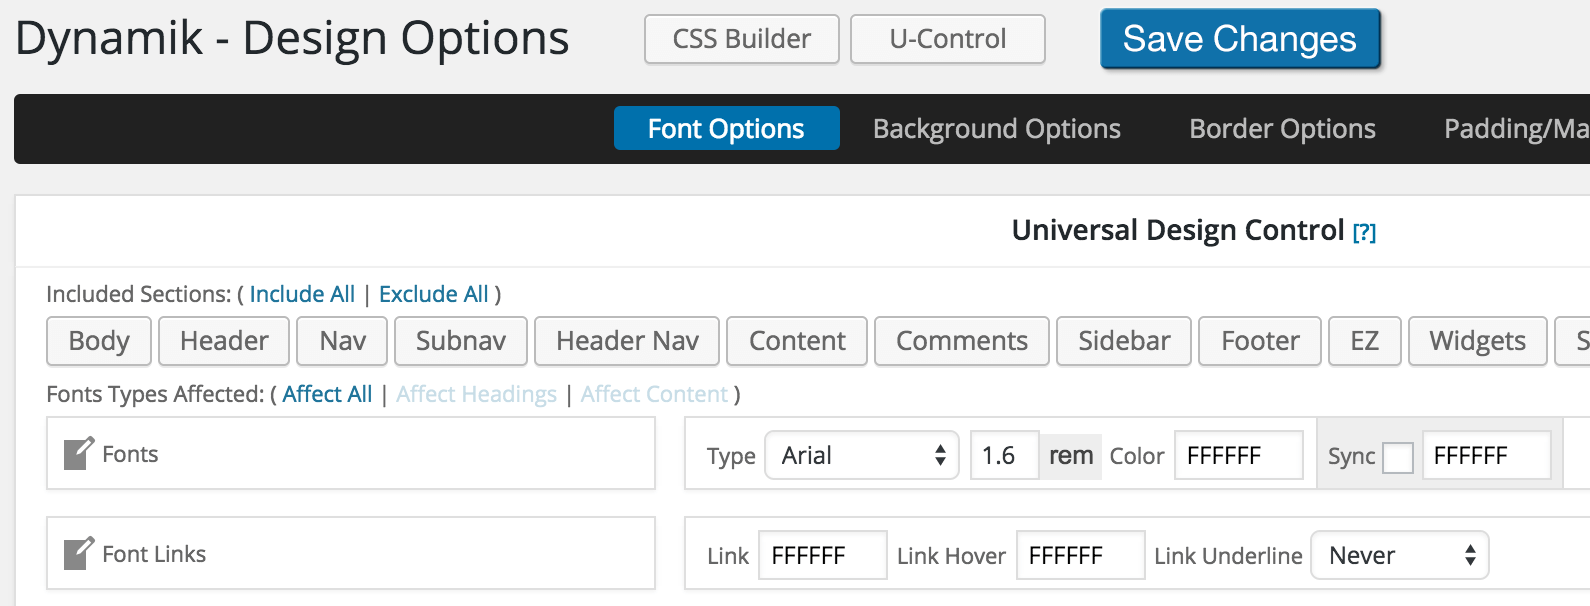
With the Universal Design Control feature I can completely transform the typography and totally customize the color scheme in a matter of minutes. For color options, especially, I find this U-Control feature indispensable! I just use the “Color Sync” feature to make sweeping color changes with a single color picker in control.
Step 4: Make any fine-tuning design tweaks by clicking through the various Dynamik Design Options tabs and adjusting the options accordingly.
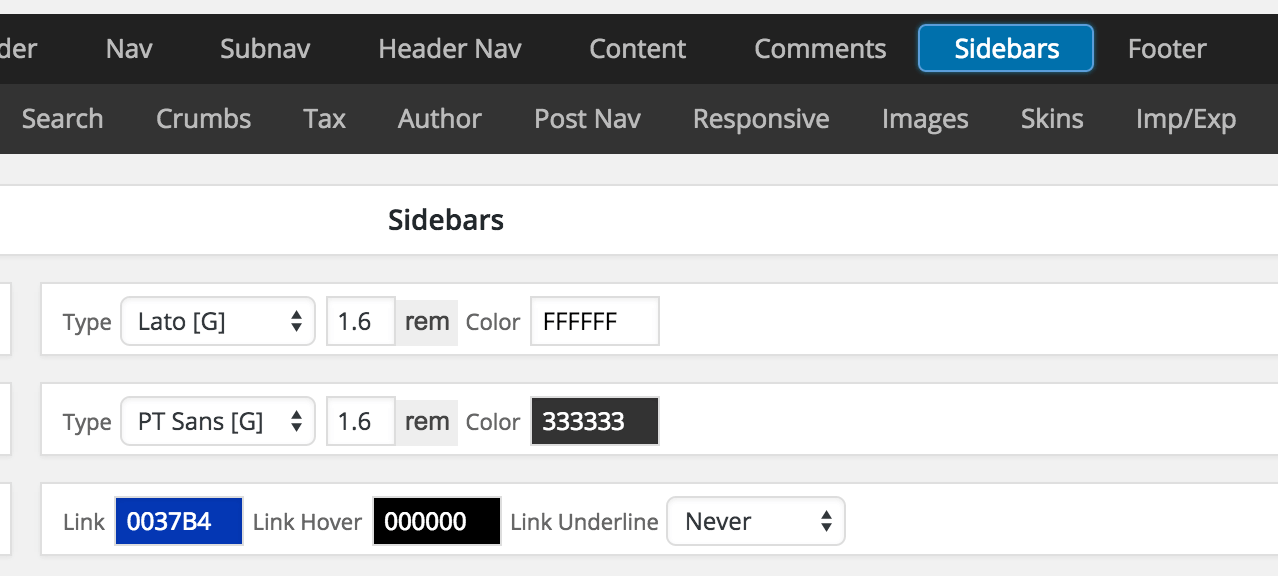
In other words, whatever wasn’t adjusted by way of the U-Control feature I fine-tune by way of the more traditional admin option approach.
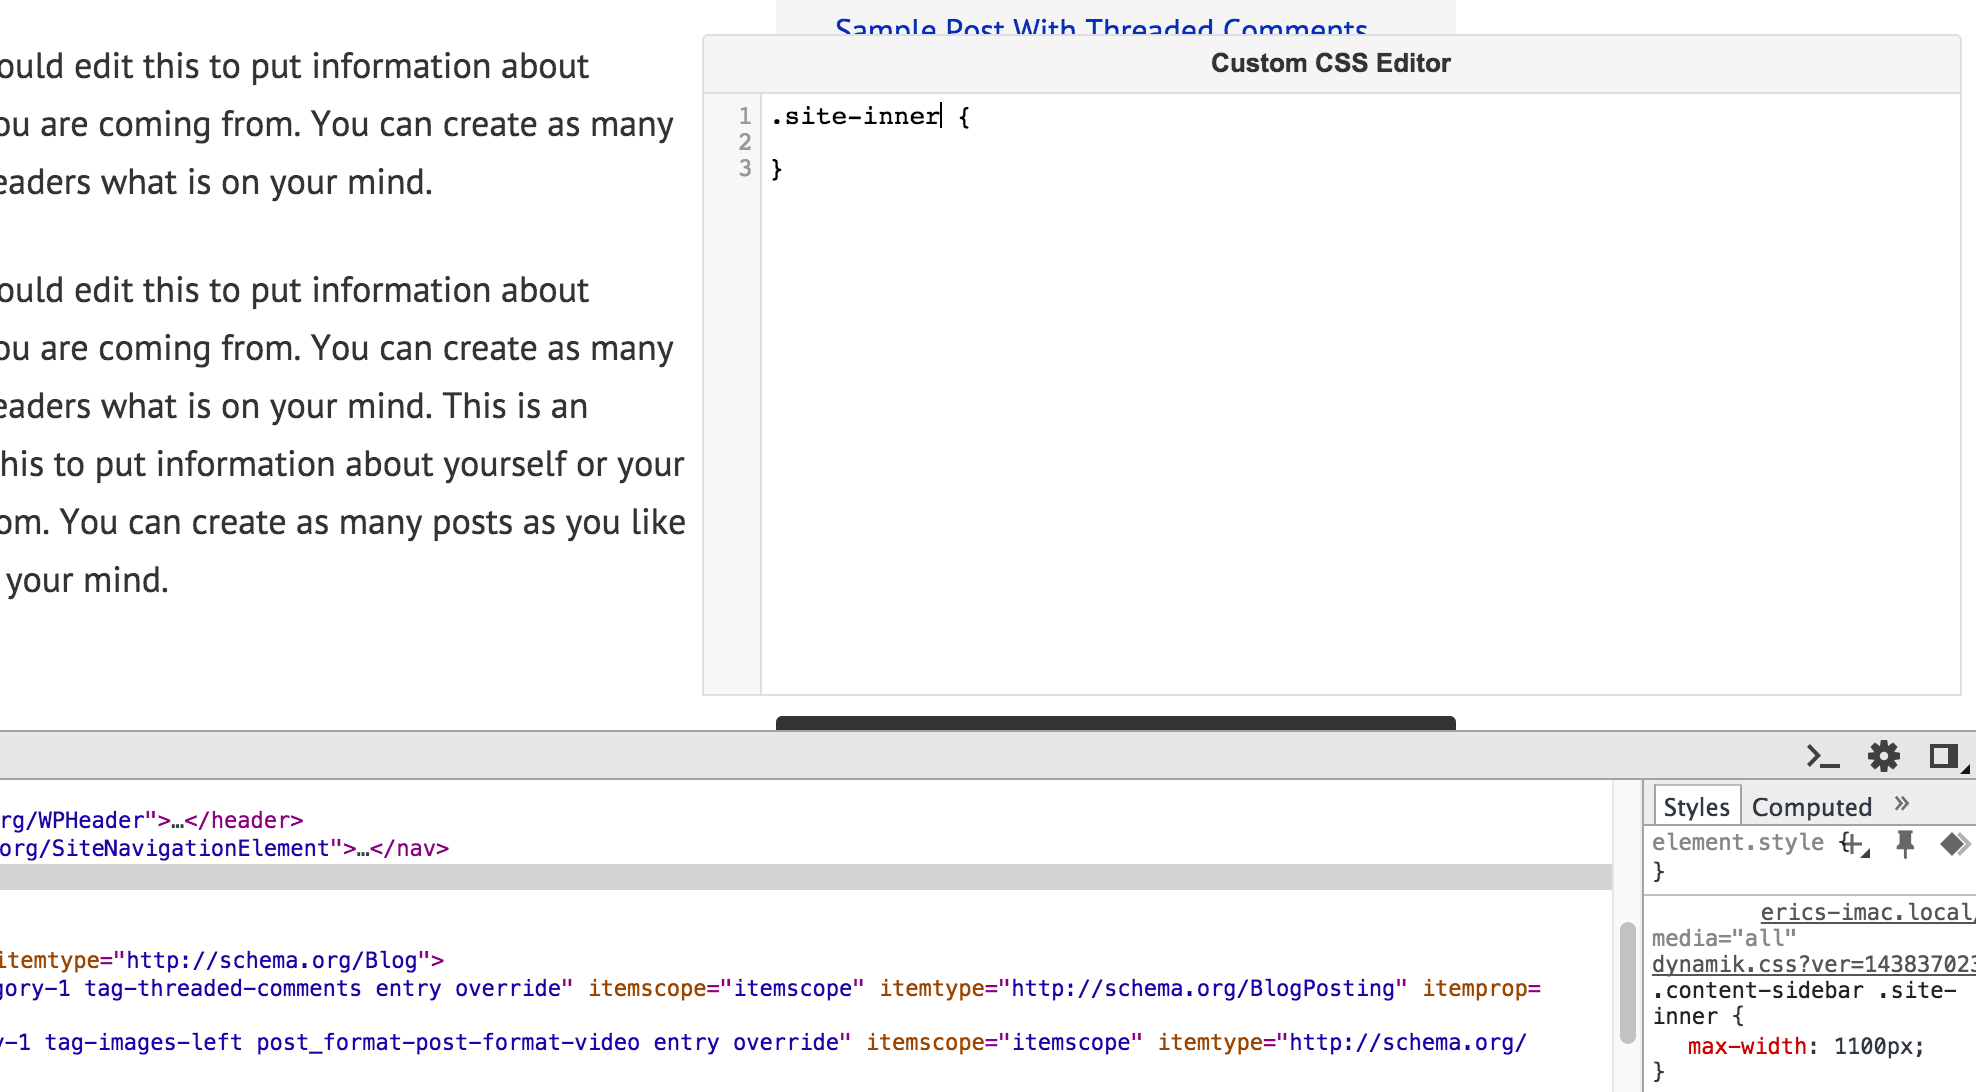
Step 5: Activate the Front-End CSS Builder (I just use the “Editor Only” feature and combine that with my browser’s Inspector tool, but many find the Front-End Builder helpful, so just use what works best for you) and then pop on the front-end and any fine-tuning design tweaks not possible through the Design Options page.
Step 6: Test the Responsive Design aspects of the Skin either by shrinking my browser or a web tools like THIS ONE. Then make any necessary adjustments in Dynamik Design > Responsive.
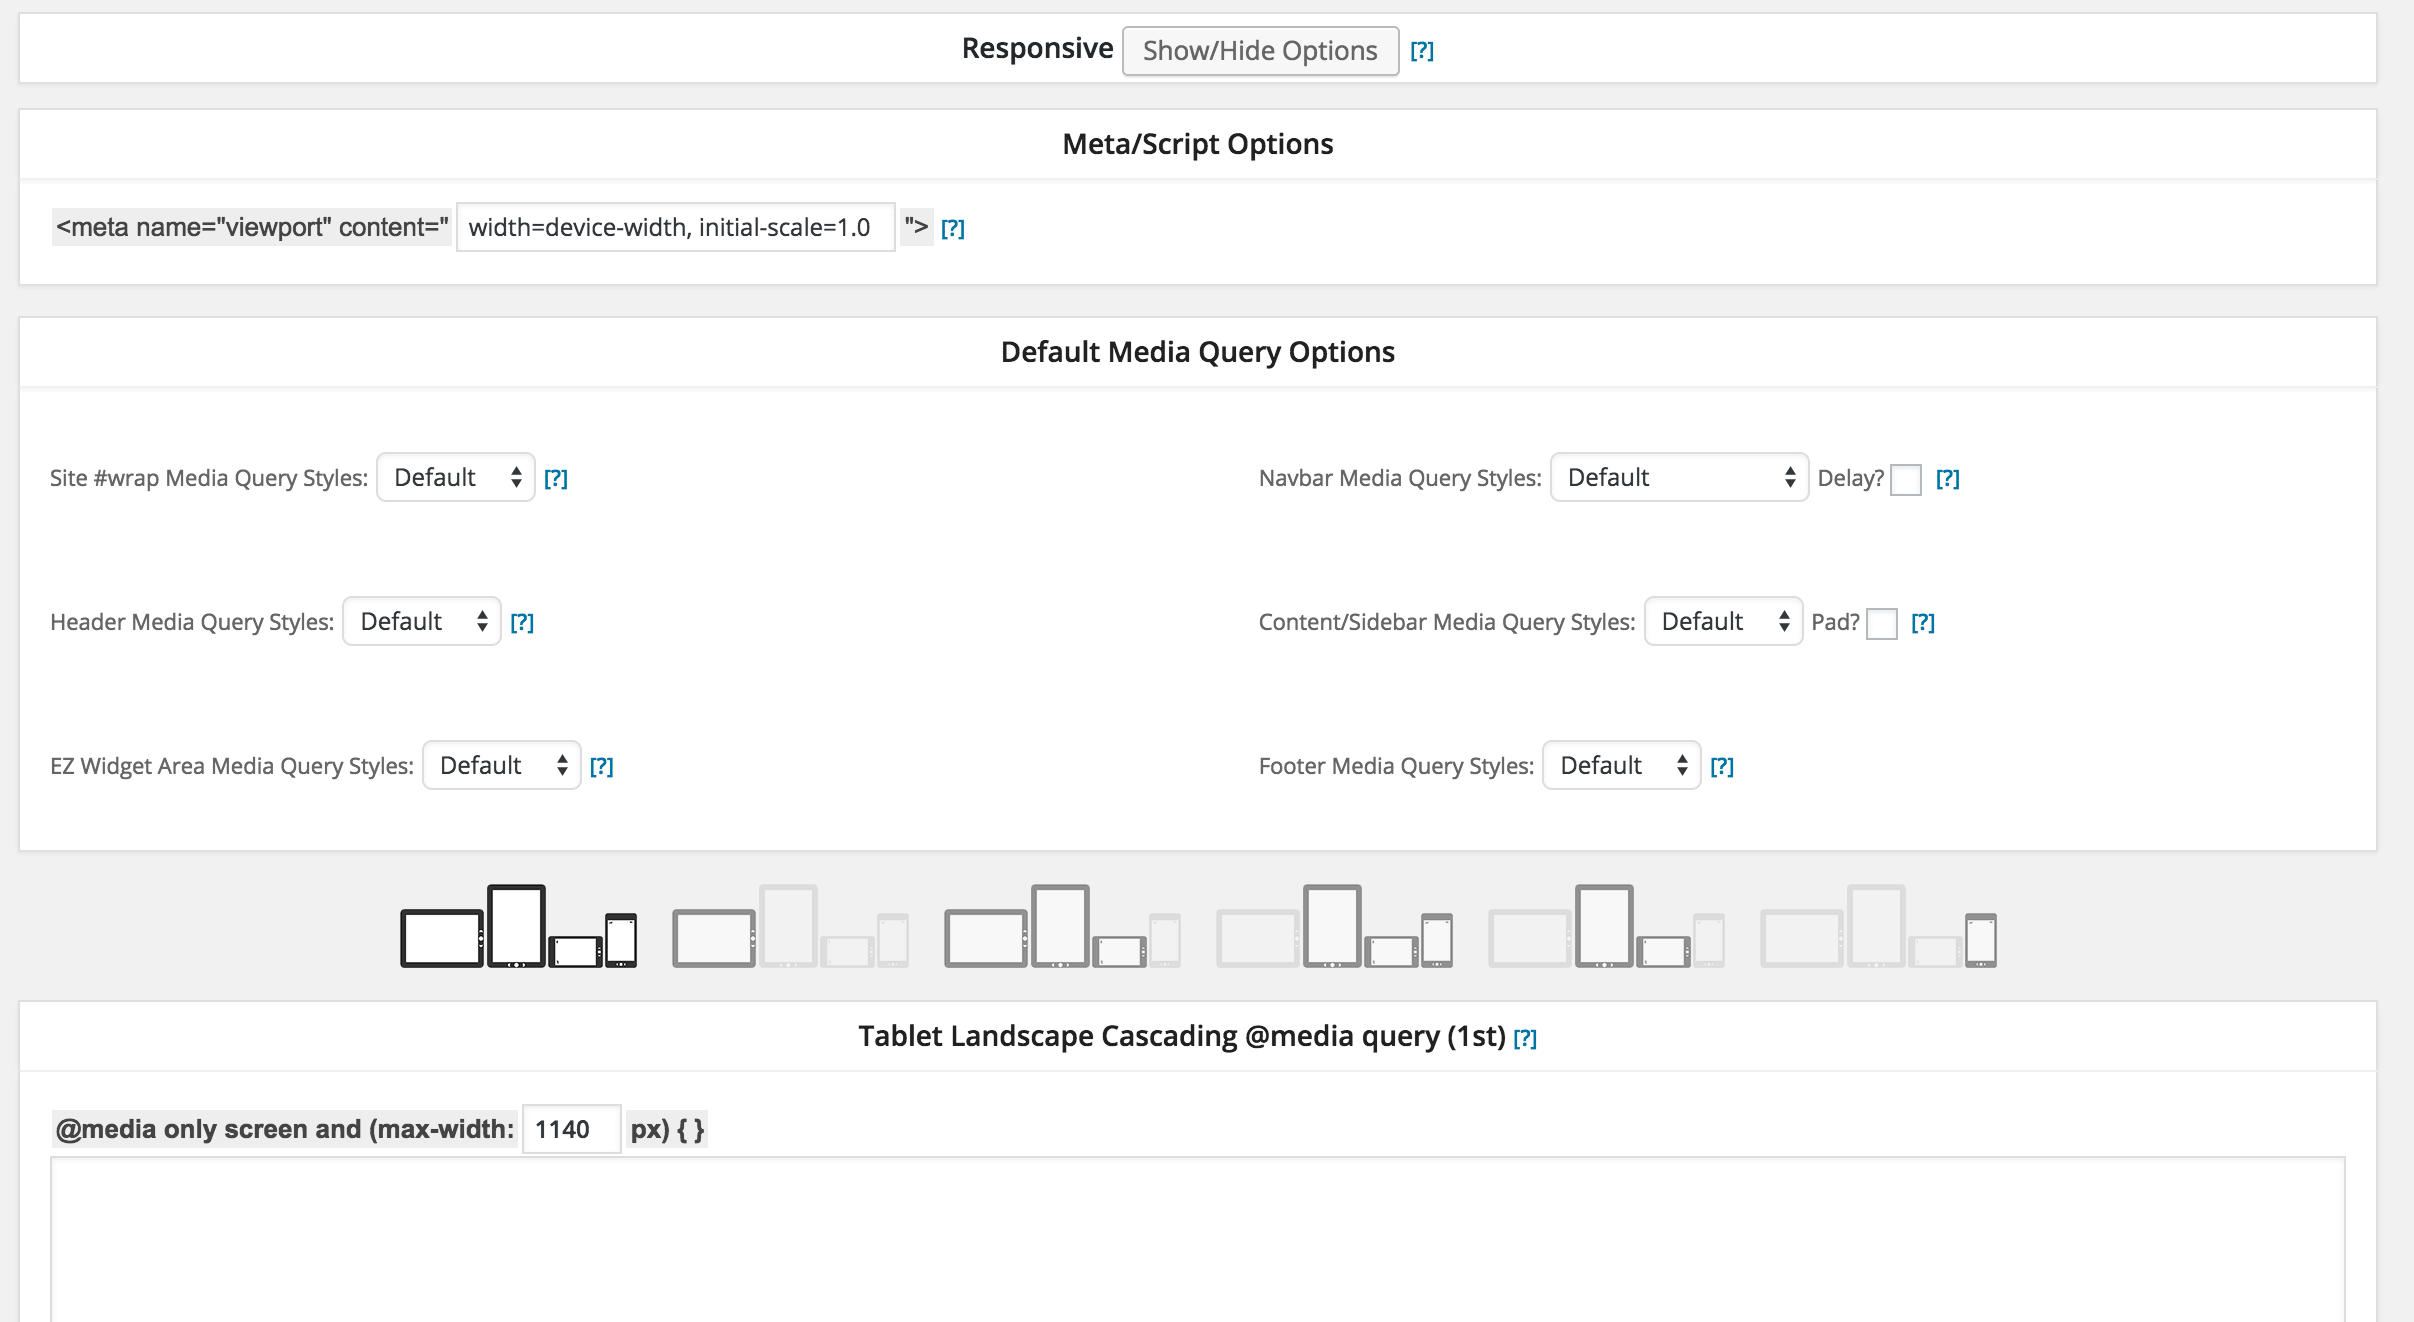
This is where I tweak things like the responsiveness of the navbars and the way the Sidebars and Content areas respond, as well as add any custom CSS through the various @media query options.
Step 7: If I’ve added anything to Custom CSS, Custom Functions and/or Custom JS in the Dynamik Custom Options admin section I may then cut and paste that code over to the corresponding style.css, functions.php and scripts.js files for the active Skin.
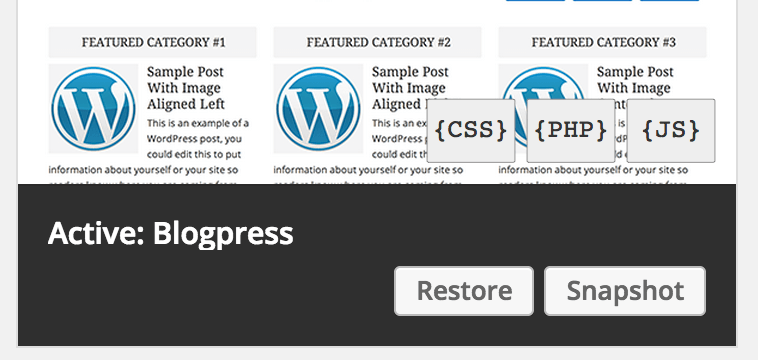
This can easily be done using the built-in Active Skin File Editor feature for CSS, PHP and JS code. And this is certainly not necessary, but nice to do if you’d like to keep your design and customizations compartmentalized in your currently active Skin.
Optional…
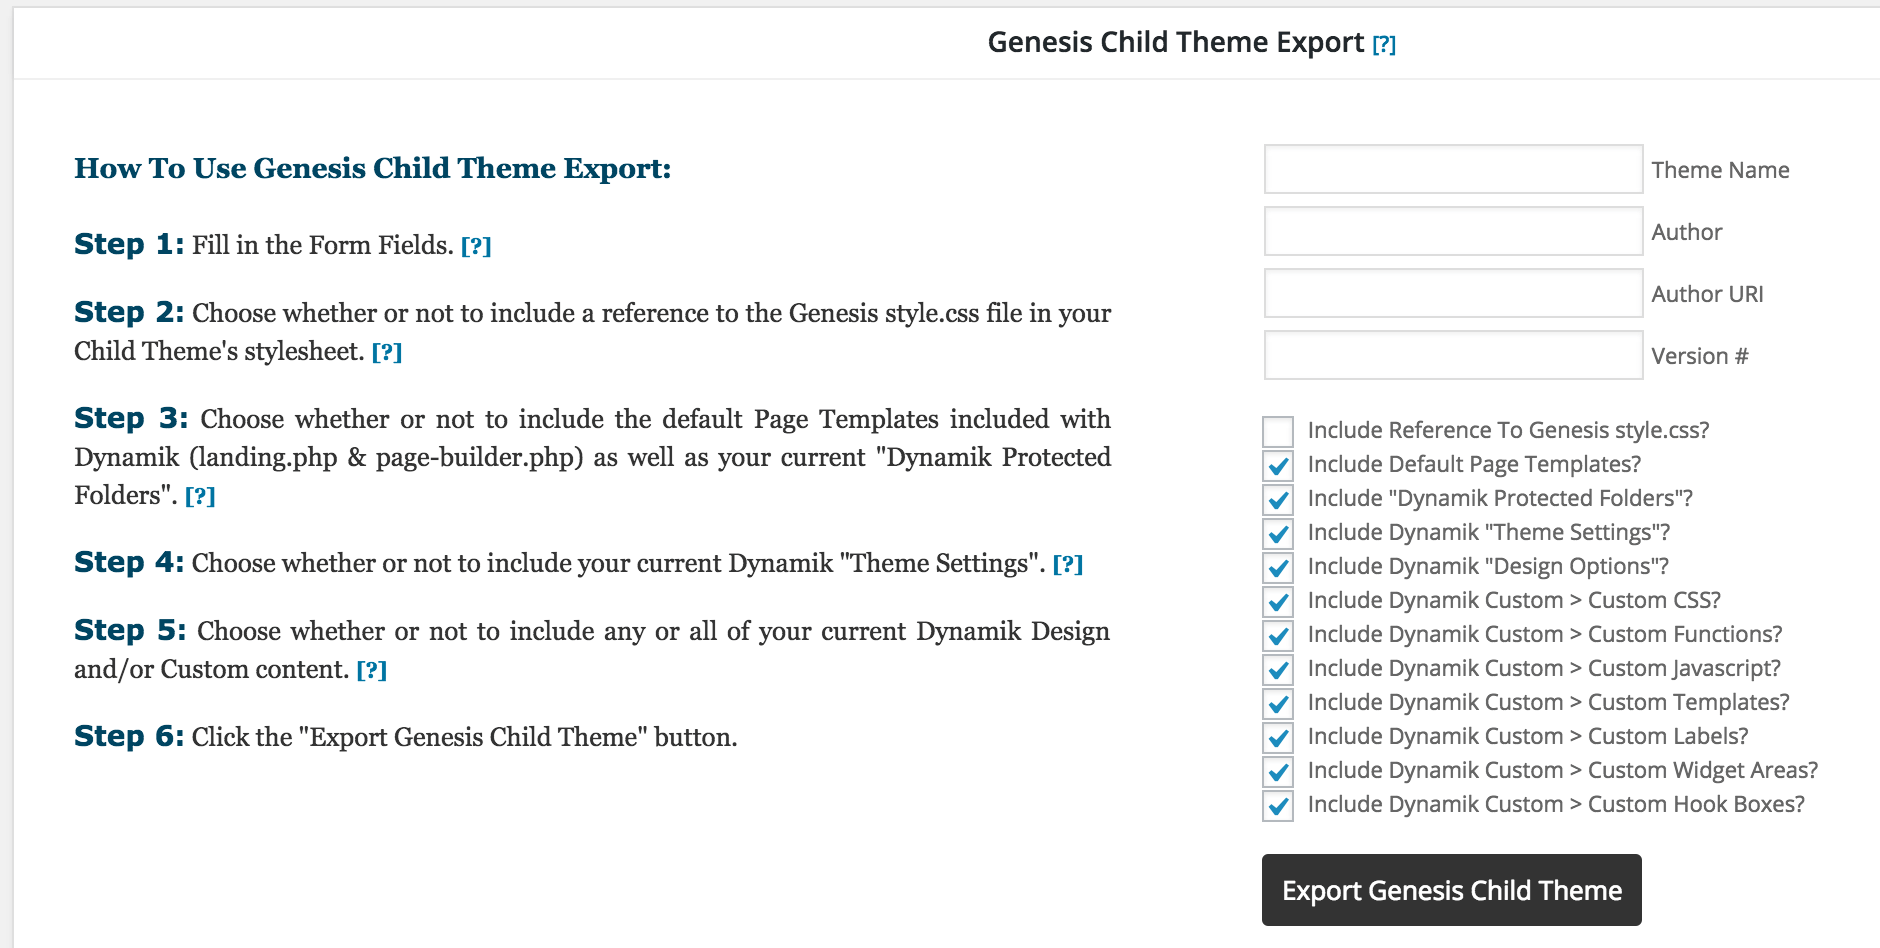
Step 8: I generally like to keep Dynamik as the active theme for my web design projects just so I have all that it has to offer at my disposal at all times, but some prefer to Export their design as a fully independent, hard-coded Genesis Child Theme. In this case you would do this once your design is completely finished and ready to go live.
And that’s my general workflow. Like I said it’s just the way I personally utilize the features found in Dynamik, but whatever you find that works best, I would strongly suggest that over time you get a good idea of how you best use Dynamik and stick with it. Then the more you use the theme in this way the more efficient you’ll be able to go from scratch to live website in a matter of days in many cases, if not hours like some of us do on some of our smaller projects.
To see this general workflow in action you can check out the screencast below:
Follow & Share: